Reading the Bible
Reading Scripture is the point of the app, so everything is arranged to keep the Bible text front and centre. This page covers the reading area, moving between passages, switching translations, reading several passages at once, and the three display modes.
The Reading Area
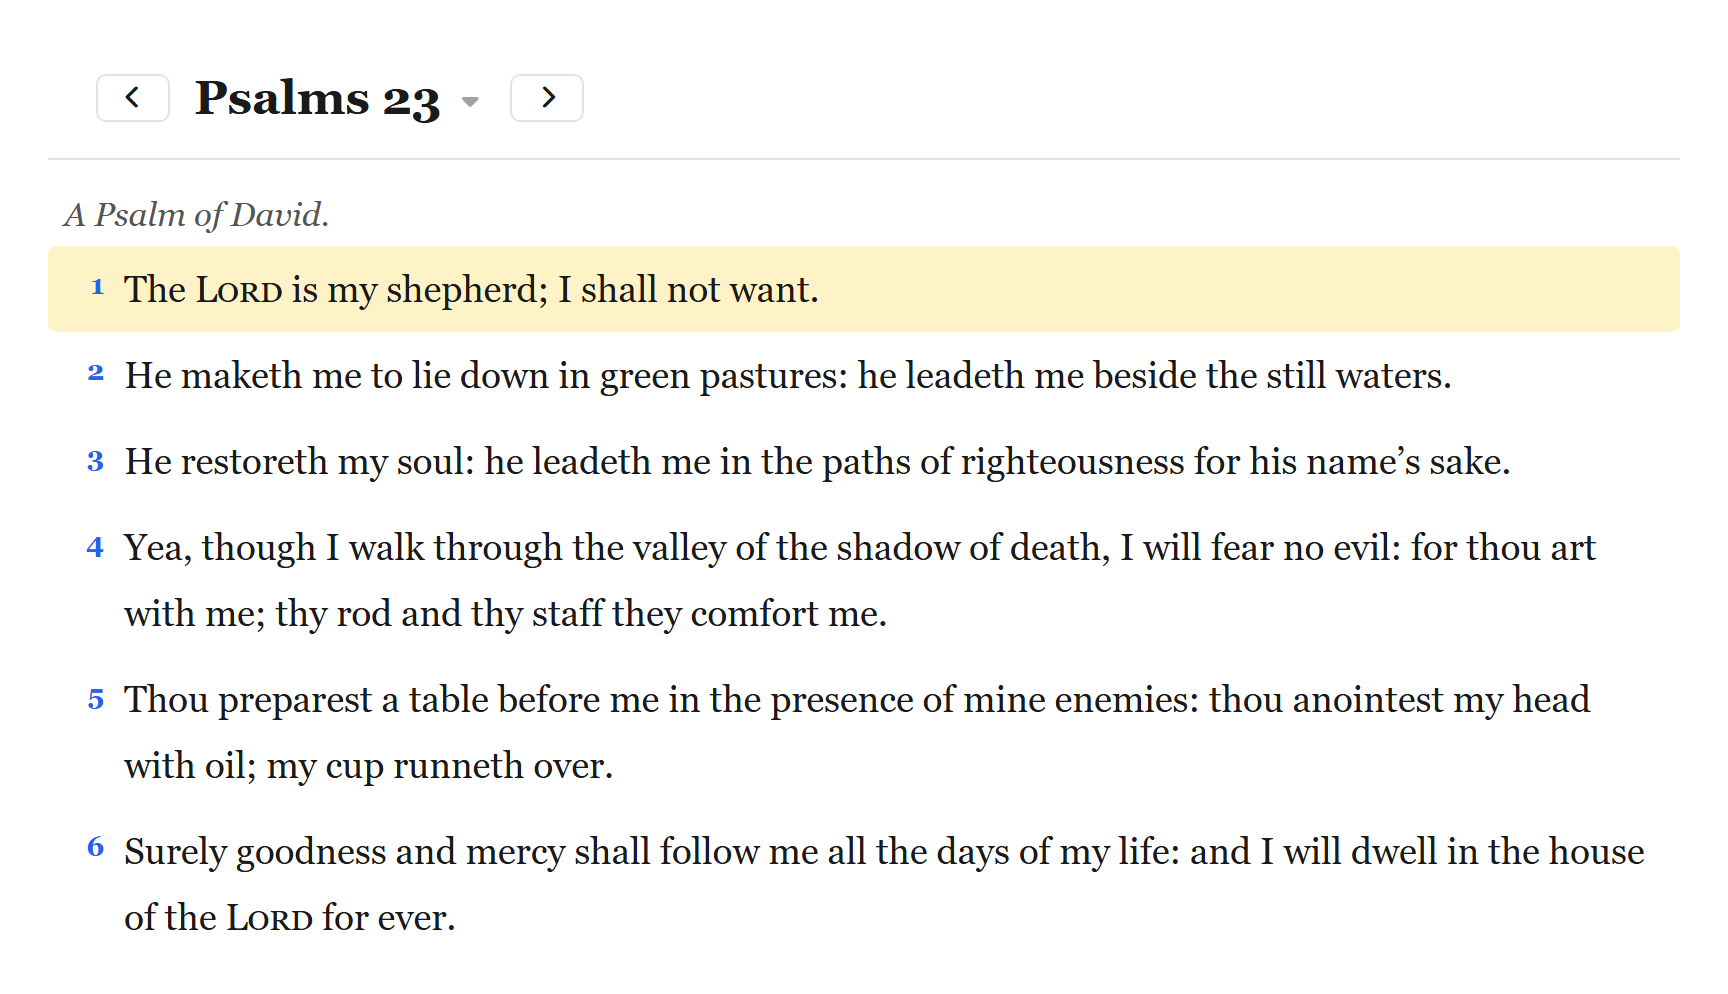
When you open a passage, the Bible text fills the main part of the window, set in a serif face with generous line spacing for long reading. Verse numbers sit as small markers beside the text.
Above the text is a toolbar holding the controls for the current passage. Below the last verse are ← Prev and Next → buttons for moving through chapters.
Navigating to a Passage
There are four ways to reach a passage.
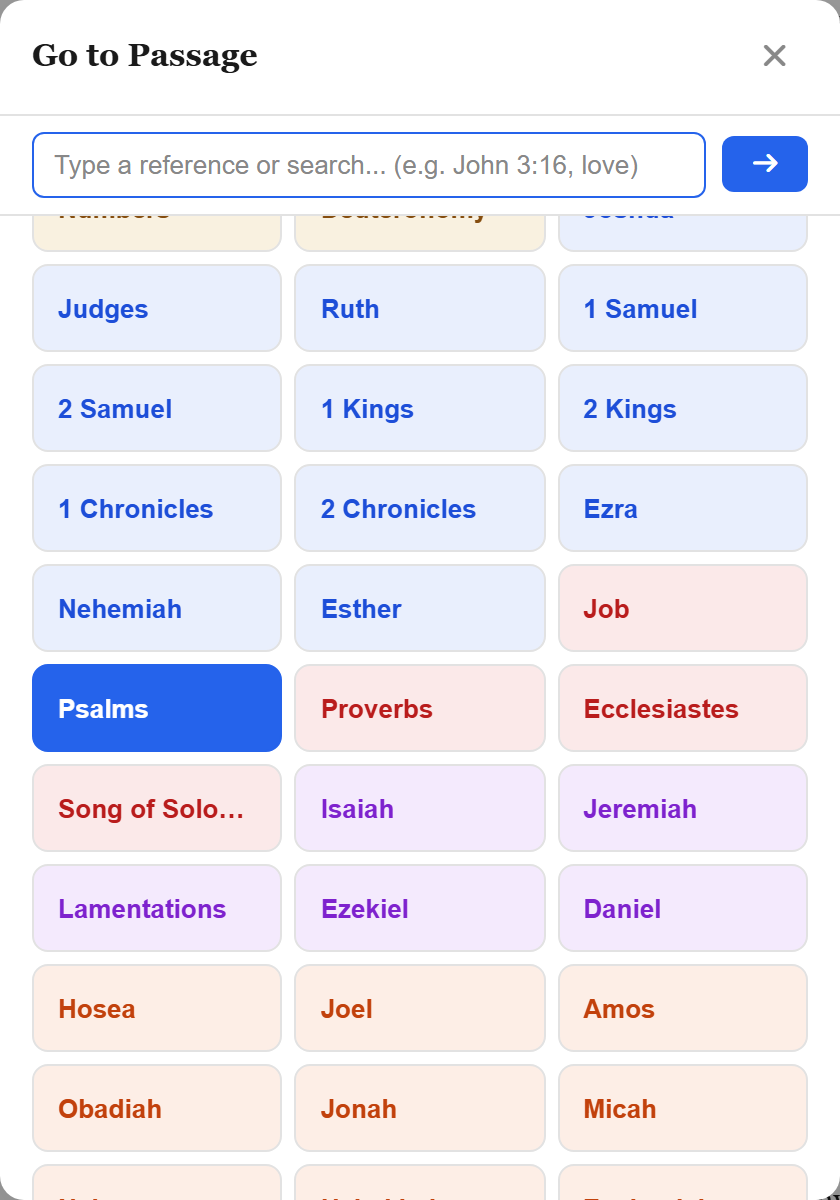
The book and chapter picker. Click the current reference at the top of the reading area — "Psalm 23", say — to open the picker, then choose a book and a chapter. The Table of Contents button in the header (the list icon) opens the same picker.
The search bar. The search bar doubles as a "go to" box. Type a reference — John 3:16, Romans 8, Gen 1:1-5, Ps 23 — and press Enter to jump straight there. No special syntax is needed; the app recognises references automatically, and forgives near-misses like jonh 3:16. See Searching.
Chapter navigation. ← Prev and Next → sit below the last verse of every chapter, and matching chevrons sit at the right-hand end of the toolbar. Both carry you across book boundaries — reading past the end of Malachi takes you into Matthew.

History. The toolbar's back and forward arrows retrace your steps, exactly like a browser. Beside them is a History button that drops down a list of recent passages — click any entry to return to it.
When you arrive somewhere by following a cross-reference or a link inside a commentary, a small "Back to …" bar appears above the text so you can return in one click. It fades away on its own after about half a minute, or you can dismiss it with the ✕.
Switching Translations
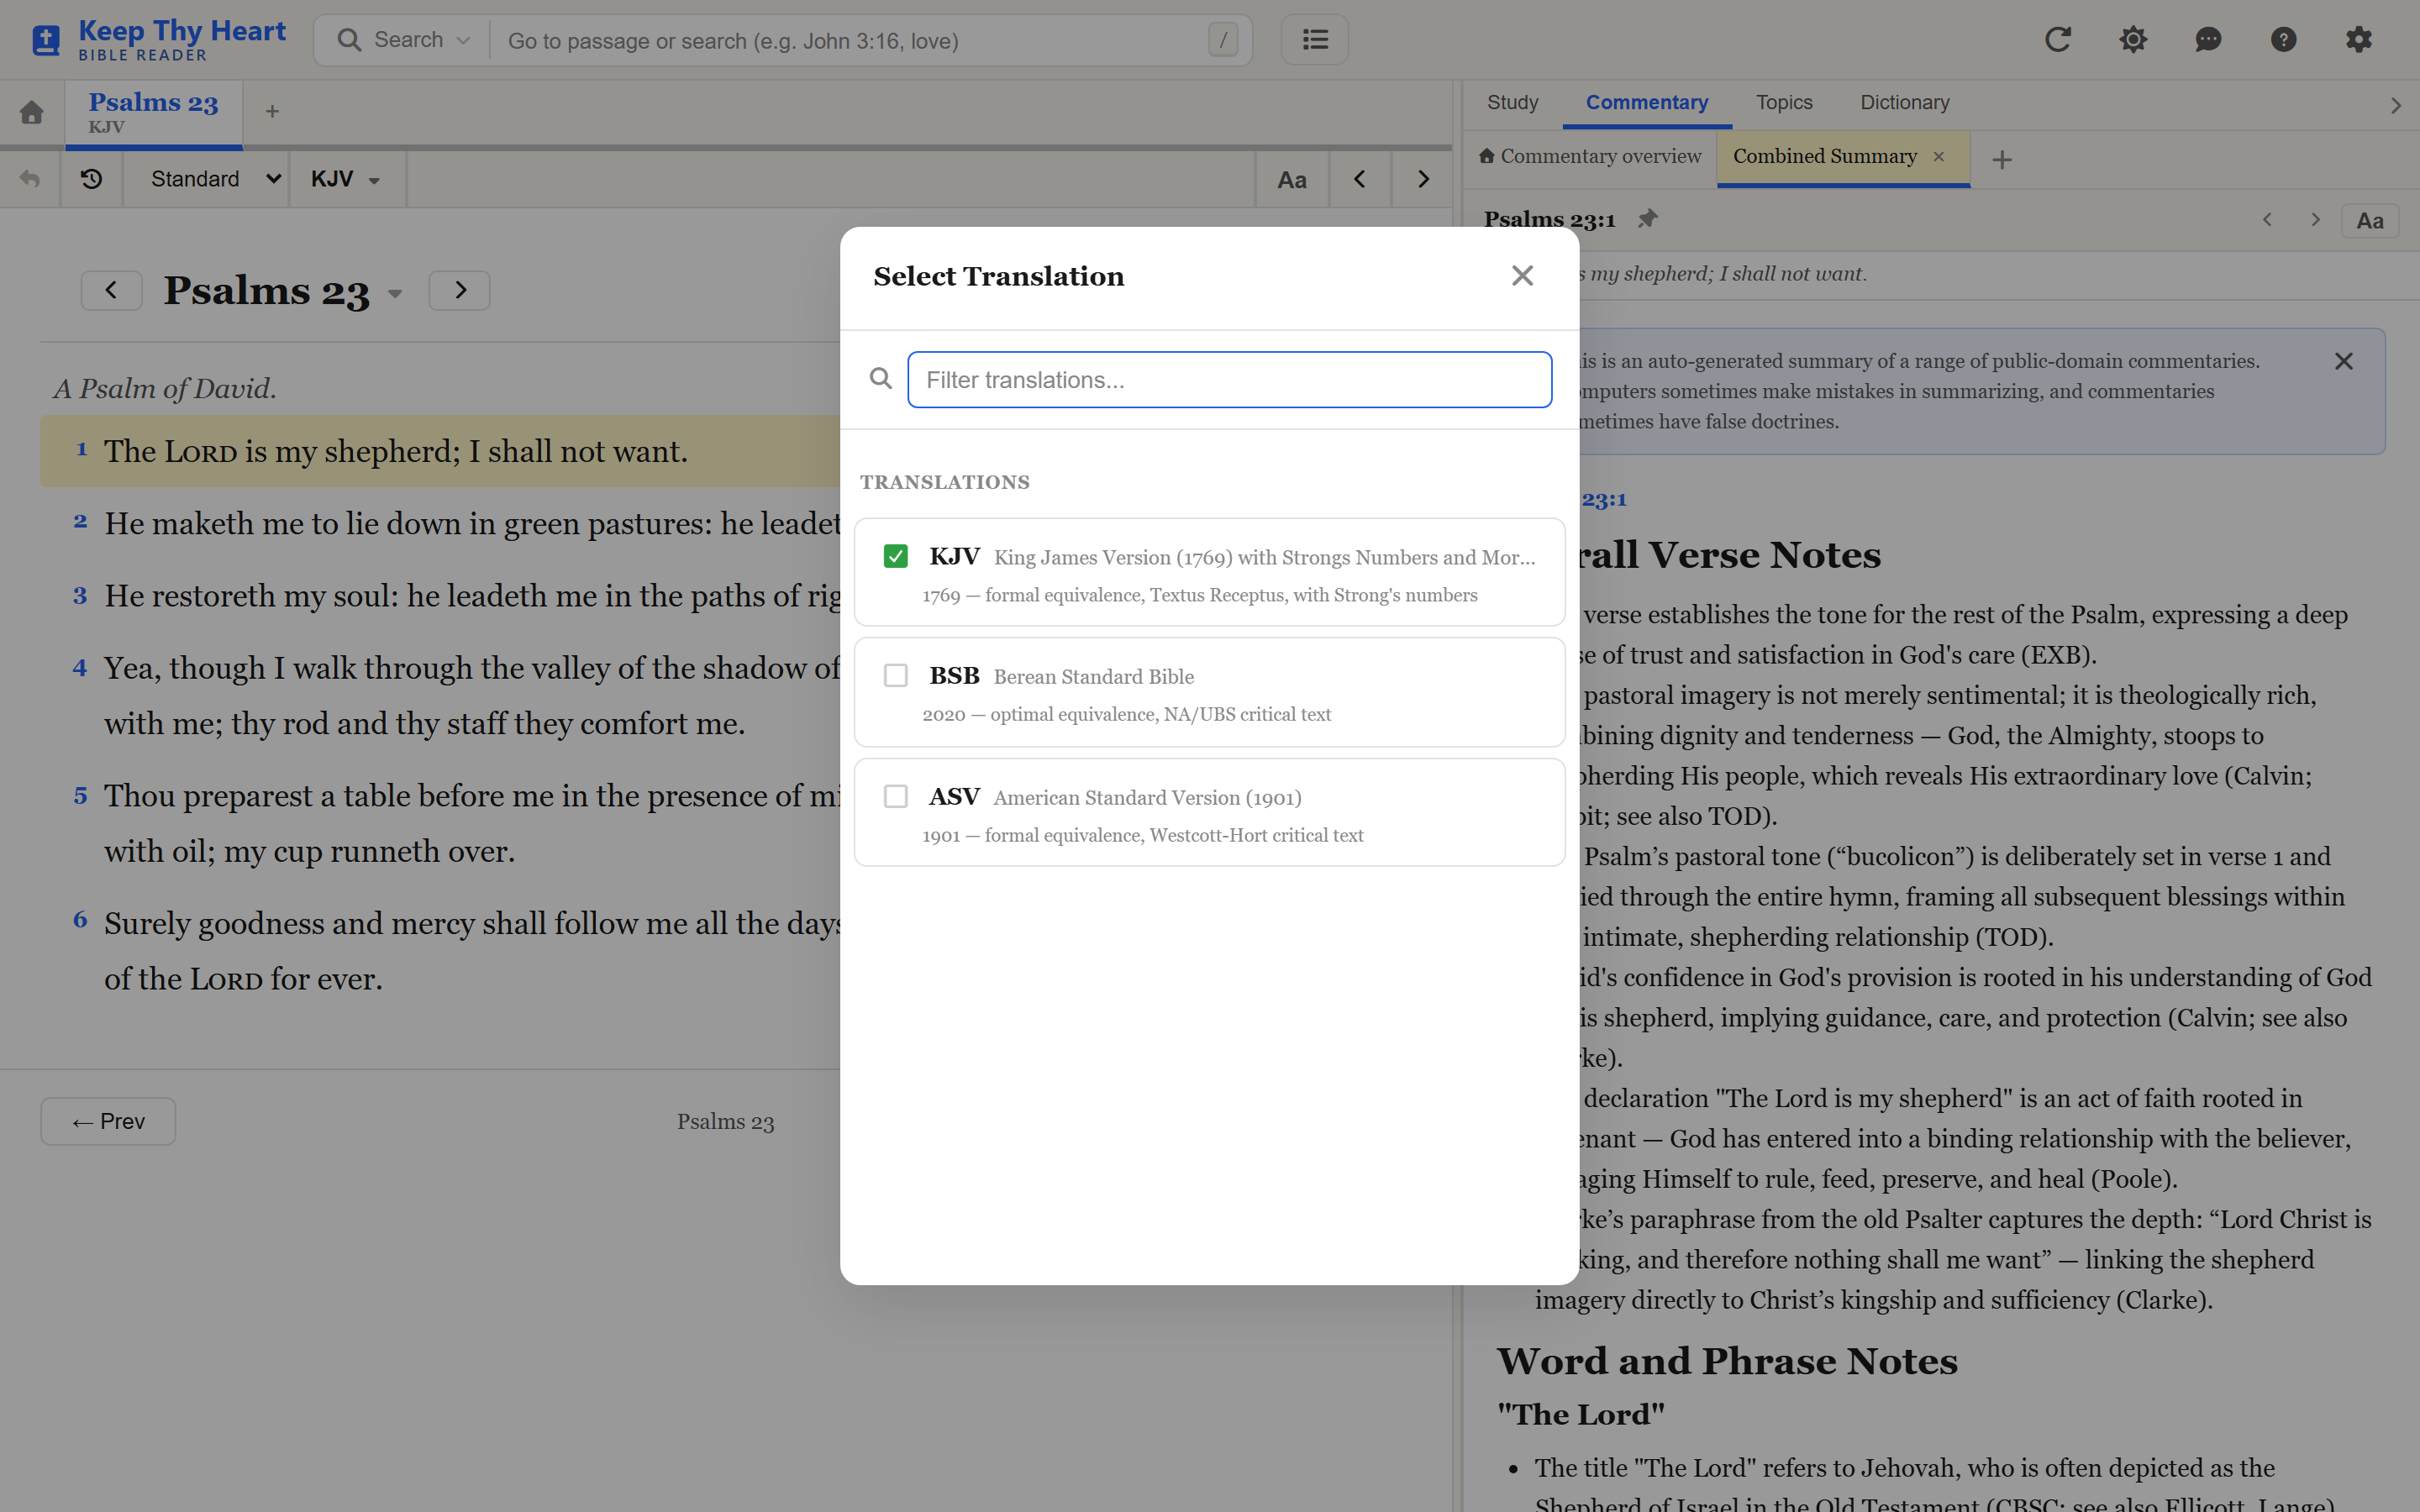
The button in the toolbar showing an abbreviation — KJV, ASV, and so on — is the translation selector. Click it to open the Select Translation dialog, which lists everything the site has available, grouped into Popular and All Translations, with a filter box at the top for narrowing a long list.
Switching translations keeps you on the same passage; only the wording changes, which makes comparison easy.
Not every translation covers the whole Bible. When one does not reach the passage you are on, the app says so plainly — "This translation only has content for the New Testament", for instance — rather than showing you an empty page.
Reading More Than One Passage at a Time
Tabs along the top of the reading area let you keep several passages open at once.
- Open a new tab with the + button at the end of the tab bar.
- Switch between tabs by clicking them.
- Reorder them by dragging left or right.
- Close one with the ✕ on the tab itself.
Your tabs are remembered in this browser, so you return to exactly where you left off.
To open something in a new tab instead of the current one, Ctrl+click (Cmd+click on a Mac) a search result or a Scripture reference inside a commentary.

Display Modes
The dropdown in the toolbar switches between three ways of displaying the text.
Standard is the default. Each verse is marked with its number, which is what you want for following along in a study or a sermon, or for pointing someone to a particular verse.
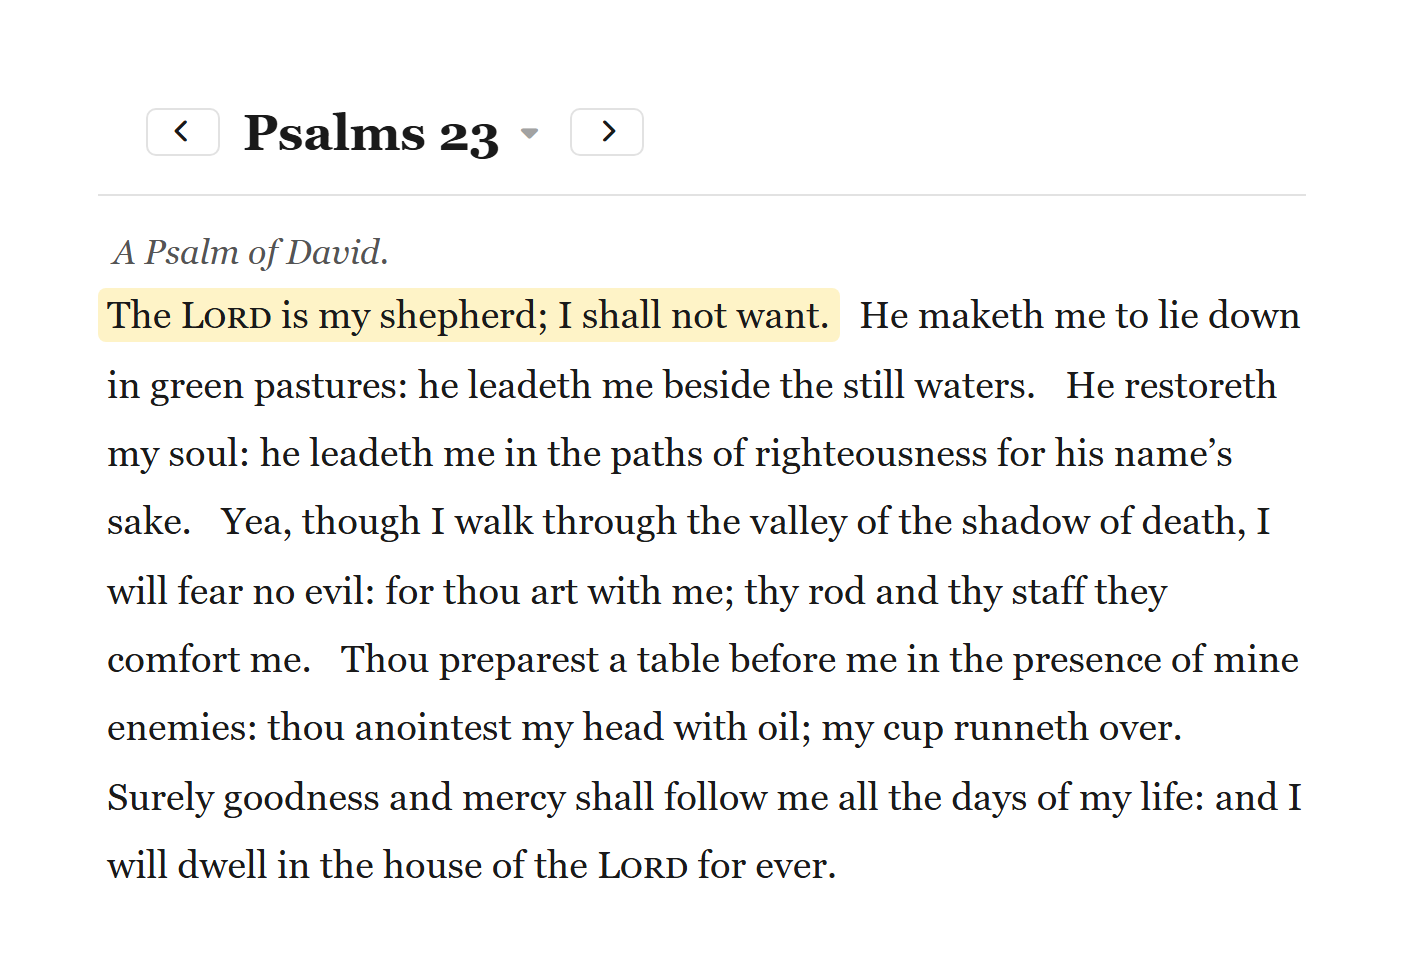
Reading presents the text as flowing paragraphs with the verse numbers removed altogether — much like reading a novel. This is the mode for taking in a whole chapter or book without interruption.
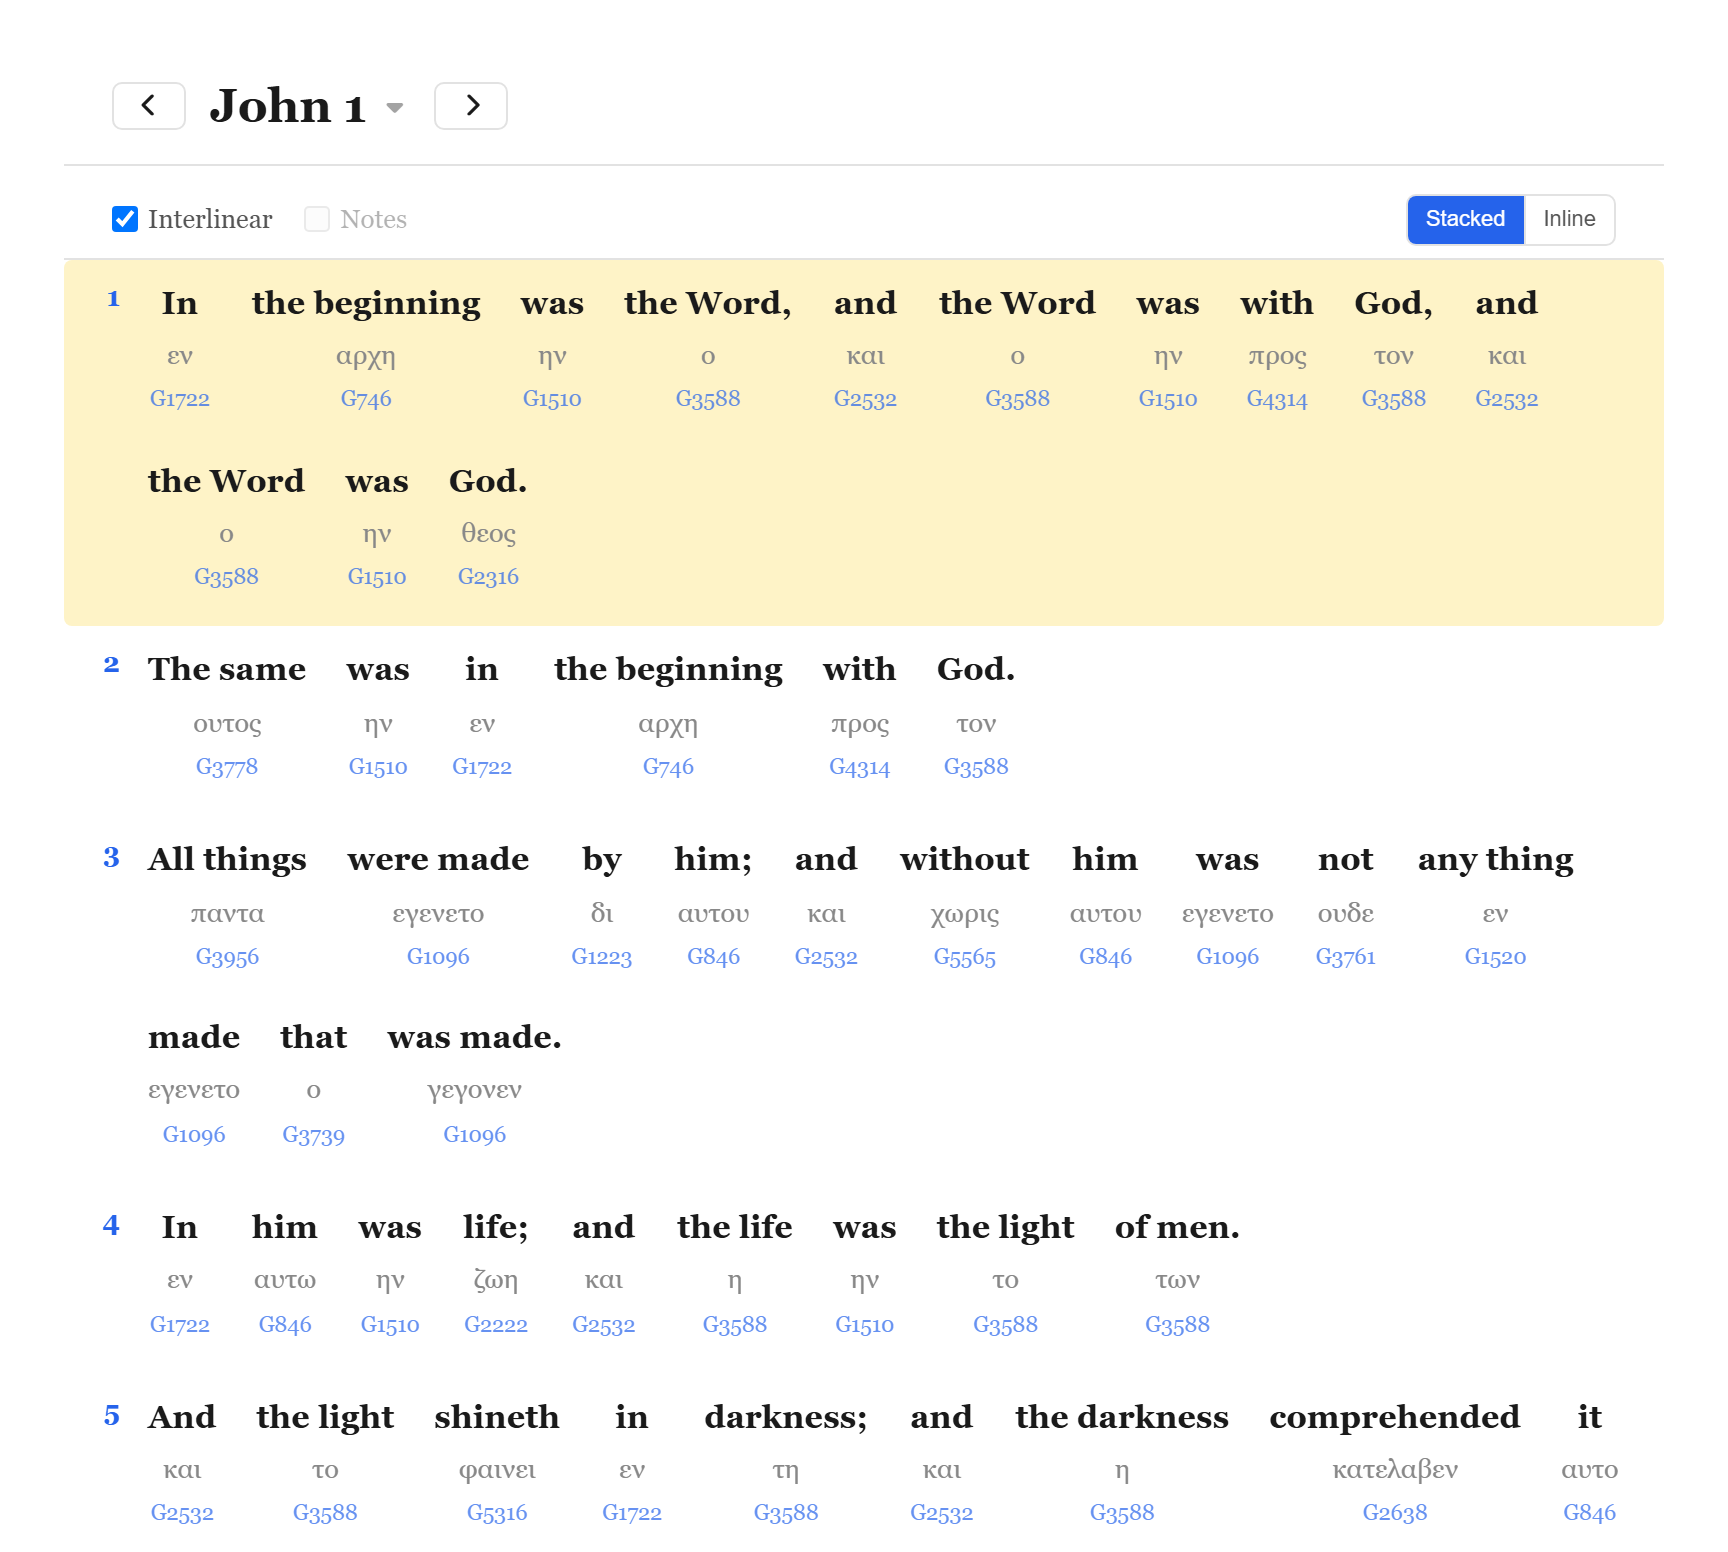
Study adds the original Greek or Hebrew beneath the English, along with Strong's numbers you can hover or click to look up. Two checkboxes appear with it: Interlinear, which shows the original-language words, and Notes, which shows the publisher's own notes where the translation includes them. Not every translation has either — the app tells you when the data is missing rather than leaving a blank.
Study Tools covers what you can do once you are in Study mode.
Words of Christ in Red
Many readers like to see Jesus' spoken words printed in red. Open Settings (the gear icon in the header), go to the Text Size tab, and turn on Words of Christ in Red. It affects the reading area only, and only in translations that carry the red-letter information.
What's Next
- Commentaries, cross-references, and original-language words: Study Tools.
- Finding a verse by word or by meaning: Searching.
- Themes, fonts, and text size: Personalizing Your Experience.
- Just getting started? Your First Study Session.